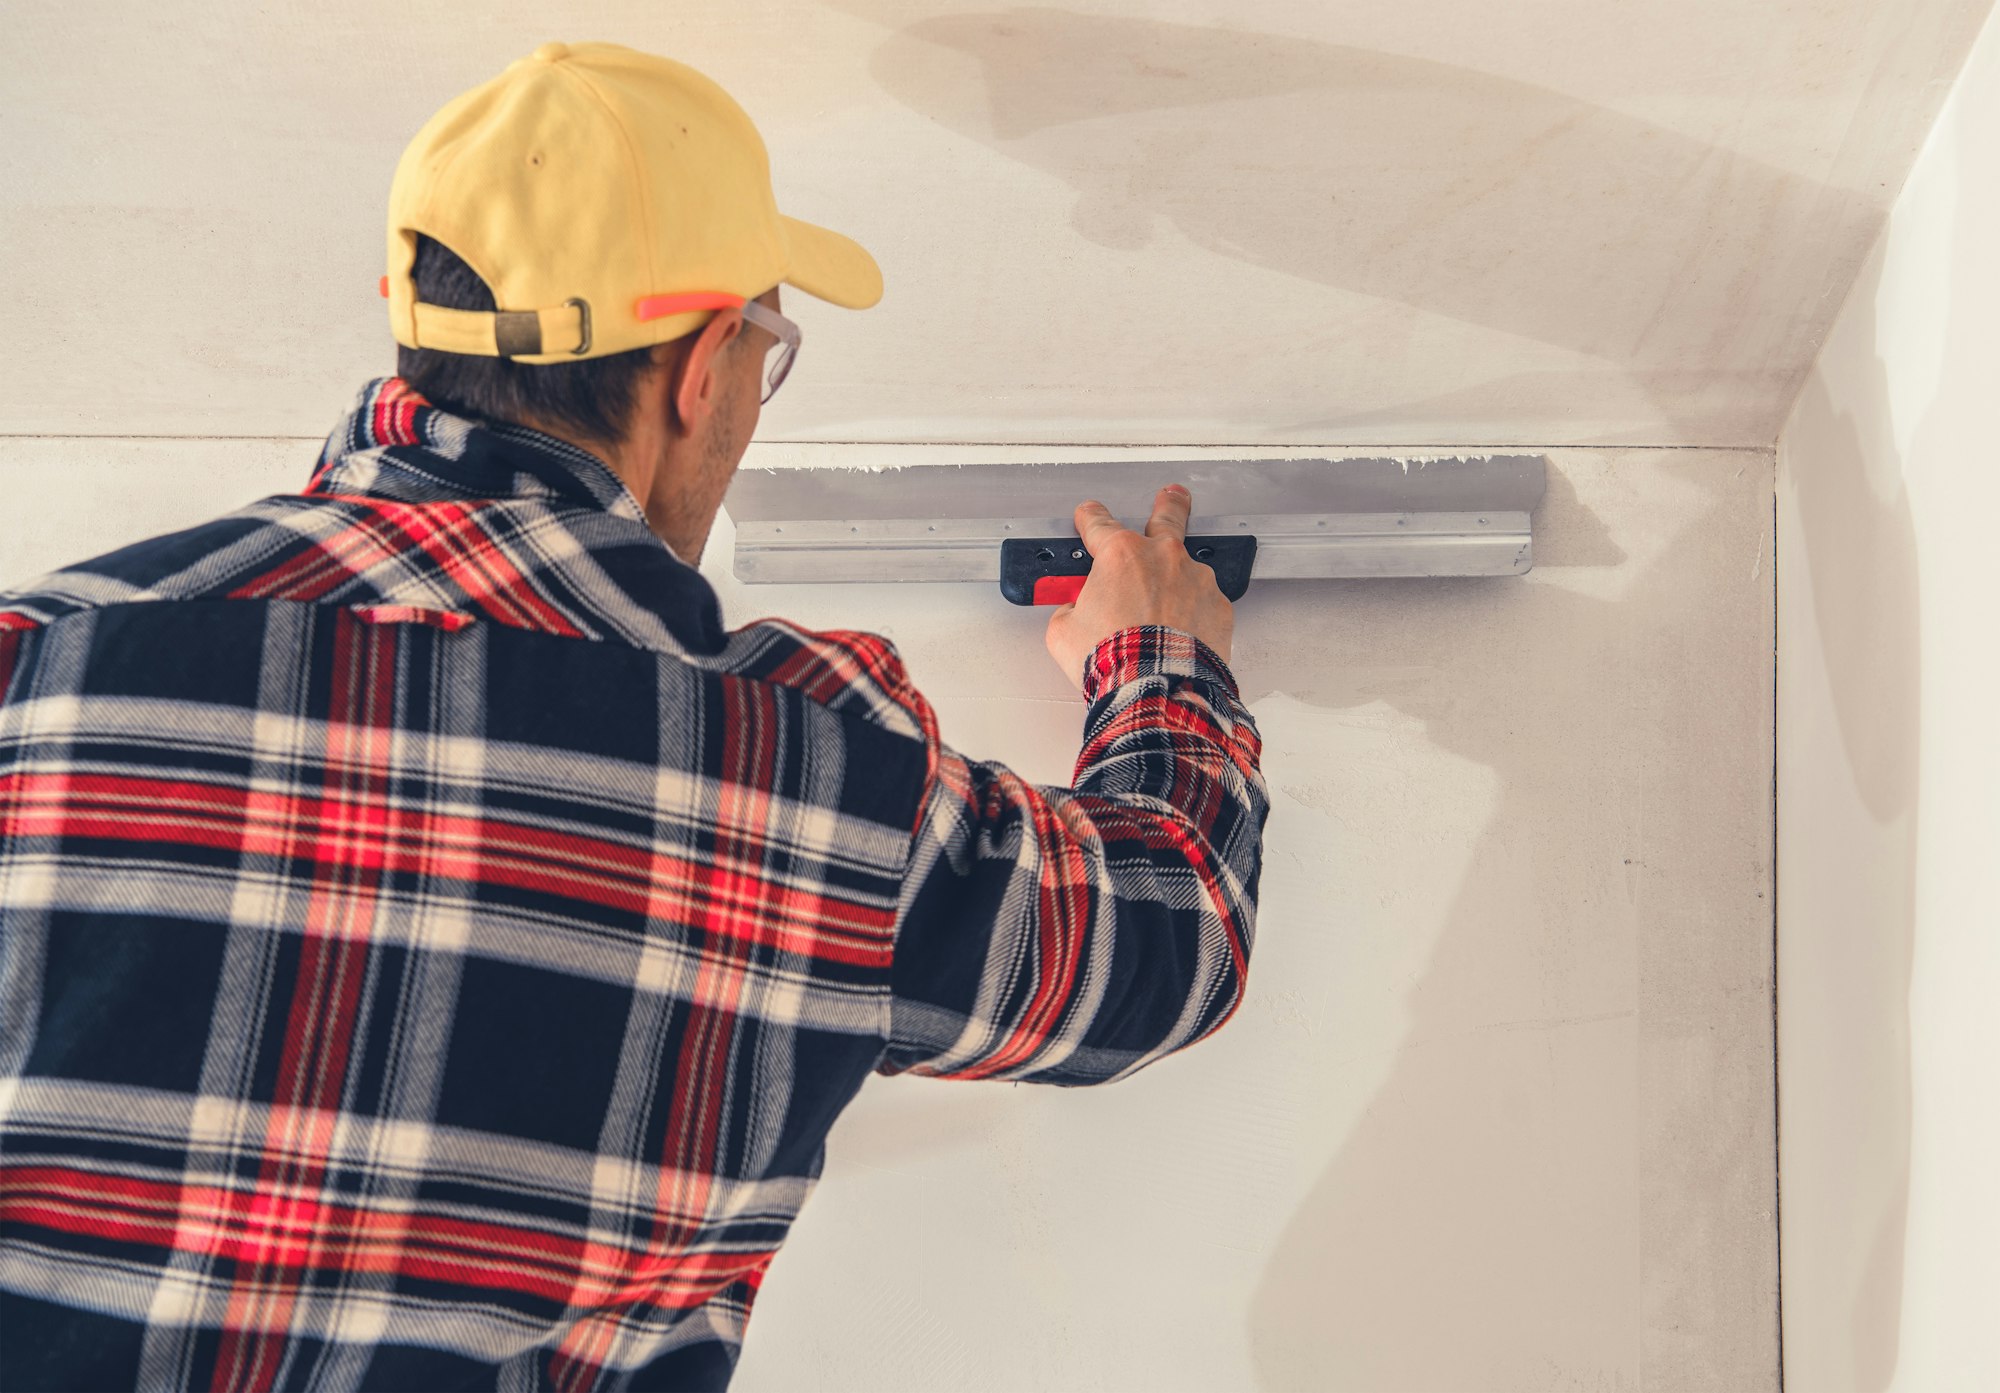
Almost every home in Kelowna and the Central Okanagan is finished on the inside with drywall, and sooner or later almost every one of those walls develops a problem. A hairline crack creeps out from a doorway corner. A doorknob punches a hole. A slow leak leaves a brown stain and a soft, crumbling patch of ceiling. Or you simply get tired of a dated, dust-catching popcorn ceiling. This guide walks through why drywall fails in our climate, what a proper repair involves, and what to look for before you hire anyone, so you can tell a lasting fix from a quick cover-up.
Why does drywall crack in Okanagan homes?
Drywall does not usually crack because it is defective. It cracks because the house around it moves, and the Okanagan gives a house plenty of reasons to move.
- Seasonal humidity swings. Our summers are hot and dry, and winter furnace heat dries indoor air further. Wood framing gives up moisture and shrinks in that dry air, then takes some back in shoulder seasons. That constant movement is one of the most common reasons seams and corners open up over time.
- House settlement. Newer builds settle for the first few years as framing dries and the structure finds its position. Small cracks near door and window corners, where the wall is weakest, are common during this period.
- Temperature extremes. Materials expand and contract with heat and cold, and the Okanagan swings hard between the two. Ceilings and long wall runs feel this the most.
Most fine cracks are cosmetic and normal. What to watch for is a crack that keeps returning after it has been patched, one that is wide or offset, or one paired with sticking doors or sloped floors. Those can point to a structural issue that a drywall patch alone will not solve, and an honest contractor will tell you when the wall is not the real problem.
What does a proper drywall repair actually involve?
The difference between a repair that disappears and one that shows through paint a month later is almost entirely in the finishing, not the patching itself. A done-right repair generally follows this sequence:
1. Diagnose the cause. Before anything is patched, the underlying reason is addressed. Patching a water-stained ceiling before the leak above it is fixed simply guarantees the repair fails again.
2. Cut back to sound material. Damaged, soft, or crumbling drywall is cut out cleanly back to solid material and, ideally, back to framing so the patch has something to fasten to.
3. Fit and fasten a patch. A new piece of drywall of the same thickness is fitted and screwed in, with backing added where needed so the patch cannot flex.
4. Tape and mud in coats. Seams are taped and then covered with several thin coats of joint compound ("mud"), each one feathered wider than the last and sanded between coats. Rushing this step, or trying to do it in one thick pass, is the single most common reason a repair telegraphs through the finished paint.
5. Match the texture. The repaired area is finished to match the surrounding surface, whether that is a smooth wall or a textured one (more on that below).
The reason a small hole can still take a professional a couple of visits is the drying time between mud coats. Good finishing cannot be rushed, and anyone promising a flawless, invisible ceiling patch in a single hour is promising something the material will not deliver.
Why is matching drywall texture so hard?
If your walls or ceilings have any texture, matching it is often the trickiest part of the whole job. Textures like knockdown, orange peel, or older hand-applied patterns are sprayed or troweled on in a specific way, and a patch that is dead flat next to a textured wall stands out badly under side light, even after it is painted.
Getting an invisible result means recreating the surrounding pattern, feathering the new texture into the old, and matching the sheen of the paint. This is genuinely a skill, and it is worth asking a contractor directly whether they do their own texture matching, because it is a common weak point. Brawler Drywall, a Kelowna-based drywall company, lists texture matching among its services and describes recreating a range of textures so a repair integrates with the existing surface, which is exactly the capability to look for when damage sits in the middle of a visible textured wall or ceiling.
Should I remove my popcorn ceiling?
Popcorn (or "stucco") ceilings were standard in homes built roughly through the 1970s to 1990s, and a lot of Okanagan houses still have them. Homeowners remove them for good reasons: a smooth ceiling looks more current, reflects light so rooms feel brighter, and does not trap dust and cobwebs the way a bumpy surface does.
There is one important caution before anyone scrapes a ceiling in an older home. Textured ceiling material applied before the 1990s can contain asbestos. You cannot tell by looking, so the responsible step for a pre-1990 home is to have the material tested before it is disturbed. If it does contain asbestos, removal becomes an abatement job for a qualified specialist, not a weekend project.
Assuming the material is clear, popcorn removal is messy but straightforward: the room is masked off, the texture is scraped down, and the ceiling is skim-coated smooth, sanded, and prepped for paint. The skim-coat and sanding are what turn a scraped ceiling into a genuinely flat one, so that finishing work is where the quality shows. Brawler Drywall offers popcorn ceiling removal as one of its listed services for homeowners modernizing a dated ceiling.
Water damage: why the ceiling stain is only half the problem
Water-stained, sagging drywall is common in the Okanagan after a roof leak, an overflowing bathroom, or a failed appliance line. The visible stain is the easy part; the parts that matter are underneath and out of sight.
Before any patch goes up, the source of the water has to be stopped and the cavity behind the drywall needs to be dry. Drywall that has been wet loses strength and can grow mould, and closing up a wet cavity behind a fresh patch just hides a problem that comes back worse. A trustworthy contractor will want the leak fixed and the area dried first, even if that slows the visible repair.
What should I ask before hiring a drywall contractor in Kelowna?
Before you commit, get clear answers to these:
- Do you address the cause first, or just patch the symptom? (For any water or recurring crack, the cause comes first.)
- Do you do your own texture matching, and can you match my specific texture?
- For a pre-1990 home, do you recommend asbestos testing before scraping a textured ceiling?
- How many coats of mud should I expect? (Beware anyone promising an invisible finish in one pass.)
- Is the scope, materials, and price in writing, with a workmanship guarantee?
A local option for drywall repair and finishing
If you would rather bring in a specialist than tackle a visible repair yourself, Brawler Drywall is one Kelowna-based option focused on drywall installation, repair, finishing, texture matching, and popcorn ceiling removal for residential and commercial spaces, and the company holds a 5-star Google rating from local reviewers. As with any trade, get a written quote and ask the questions above so you can compare fairly against other contractors.
Whichever way you go, the fundamentals hold: in the Okanagan's dry air and big seasonal swings, walls and ceilings will move and occasionally fail, and a good repair fixes the cause, takes the time to finish and texture properly, and leaves a surface you cannot pick out from the wall around it.